


Custom Water Cooling: Building a Liquid Cooled PC
Custom water cooling, also known as open loop water cooling or custom loop water cooling, is a popular choice among PC enthusiasts and gamers who want maximum cooling efficiency and aesthetic appeal from their high-end systems. In this article, we'll introduce you to the world of custom water cooling and provide a step-by-step guide to building a liquid-cooled PC.
Why choose custom water cooling?
Custom water cooling offers several advantages over traditional air cooling solutions:
-
Superior cooling performance: Water is a significantly better conductor of heat than air, resulting in more efficient cooling. Special water cooling can help keep your CPU and GPUs at lower temperatures.
-
Reduced noise level: Liquid cooling systems are often quieter than air coolers because they do not rely on high-speed fans to dissipate heat.
-
Overclocking Potential: Lower temperatures provide more stable performance and higher overclocking potential, allowing your components to reach their full performance potential.
-
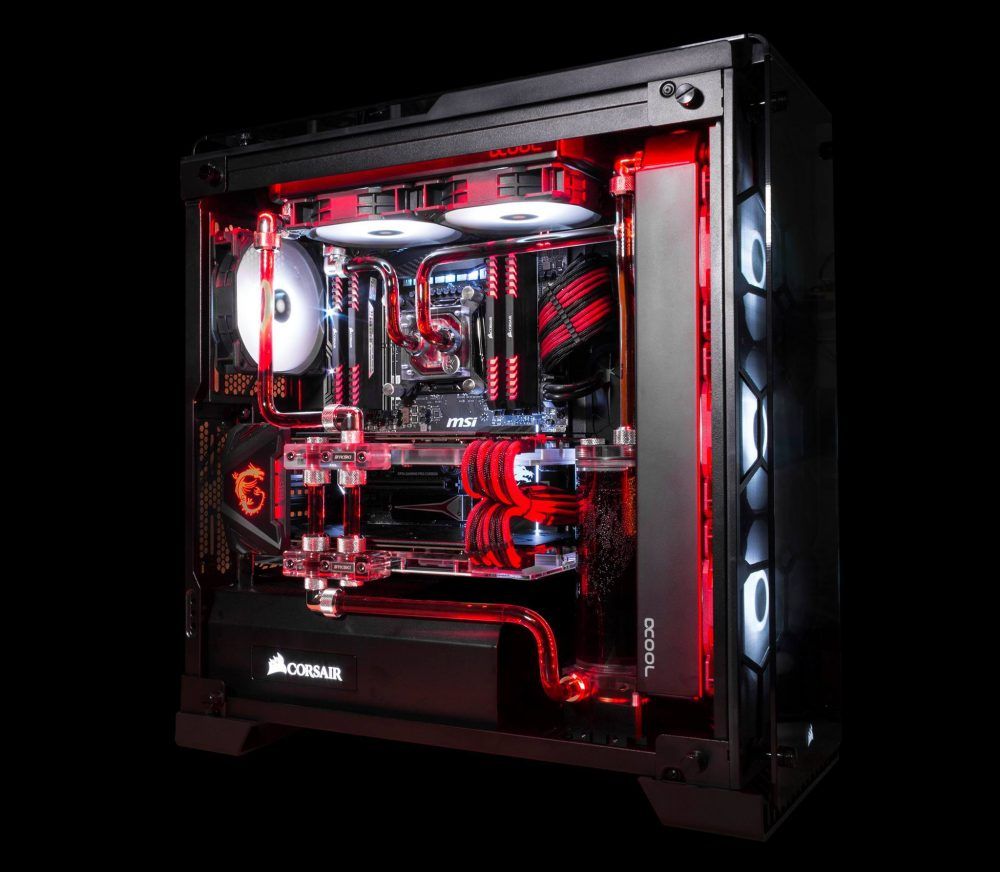
Aesthetic Customization: Custom water cooling systems can be easily customized, allowing for unique and visually appealing PC builds with colored coolant, RGB lighting, and complex piping layouts.
Creating a custom water cooling loop
Creating a custom water cooling loop can be a rewarding but challenging process. Here's a step-by-step guide to help you get started:
1. Planning:
-
Determine which components you want to cool. Typically the CPU and GPU are selected, but you can also include motherboard VR modules, RAM, and more.
-
Create a rough sketch of your circuit diagram to visualize the placement of pipes and components.
2. Components:
- Get the necessary components, including a water block for your CPU, heatsinks, fans, reservoir, pump, tubing, fittings, and coolant.
3. Security:
- Make sure your components are compatible with the coolant you choose to prevent corrosion and damage.
4. Disassembly:
- Disassemble your computer by removing the CPU cooler, GPU, and any other cooling components.
5. Mounting blocks:
- Install water blocks on your CPU and GPU according to the manufacturer's instructions. Apply thermal paste if necessary.
6. Radiator and fans:
- Install radiators and fans into your case. Make sure they are positioned optimally for airflow and heat dissipation.
7. Tubes and fittings:
- Cut and measure the tubing to fit your loop, being careful to avoid kinks or sharp bends. Attach fittings to securely connect the tubes.
8. Reservoir and pump:
- Install the reservoir and pump into your case. Ensure proper installation and secure connections to the rest of the circuit.
9. Checking filling and tightness:
- Fill the circuit with coolant, slowly removing any air bubbles. Check the system for leaks for several hours to ensure there are no leaks.
10. Final build:
- Once you are sure there are no leaks, reassemble the computer with the water-cooled components in place.
11. Testing:
- Turn on your computer and monitor the temperature. Make sure the cooling system is working properly.
12. Maintenance:
- Check the coolant level and pipes regularly for leaks and clean components as necessary. Over time, the coolant may need to be flushed and replaced.
Conclusion: Cool and tuned performance
Custom water cooling can boost your PC's performance while providing a stunning visual customization. However, careful planning, assembly and maintenance are required to ensure optimal cooling performance and durability. If you're willing to put in the time and effort, a well-made custom water cooling loop can provide a quiet and efficient cooling solution for your high-end PC.