


How to Install a Motherboard in Your PC Build: Step-by-Step Guide
Introduction: Installing the motherboard is the most important step in building a PC. It serves as the foundation for all your components, ensuring they work together smoothly. In this step-by-step guide, we'll walk you through the process of installing a motherboard into your PC build.
Required tools and materials:
- PC case with motherboard limiters installed
- Motherboard
- Processor and CPU cooler (if not pre-installed)
- RAM modules
- Power supply unit (PSU)
- Screwdriver
- Anti-static wrist strap (recommended)
- Motherboard User's Manual (for reference)
Step 1: Prepare your workspace:
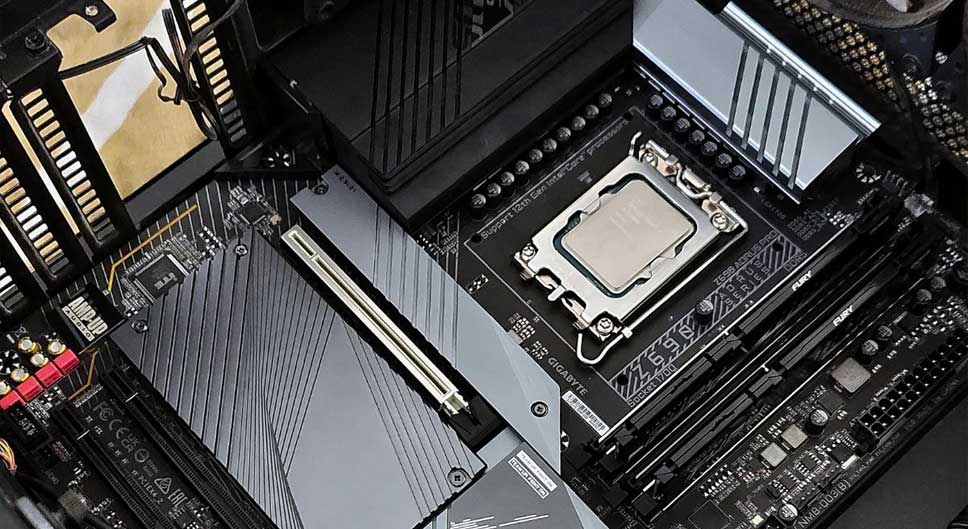
{thirty}Step 2: Install the processor and CPU cooler (if not already installed).:
- Refer to your motherboard and processor manuals for specific instructions.
- Open the processor socket on the motherboard and align the processor with the socket cutouts.
- Carefully lower the processor into the socket, making sure it is seated correctly.
- Secure the processor by closing and locking the connector lever.
- Apply thermal paste (if not already applied) and install the CPU cooler according to the manufacturer's instructions.
Step 3: Install RAM modules:
- Locate the RAM slots on the motherboard.
- Open the tabs on each RAM slot.
- Align the notch on the RAM module with the notch on the slot.
- Push the RAM module evenly but firmly into the slot until the tabs lock into place.
- Repeat the procedure to obtain additional RAM modules, if applicable.
Step 4: Set up the I/O screen:
- Locate the metal I/O shield that came with your motherboard.
- Gently insert it into the rectangular hole in the back of the computer case.
- Ensure it's correctly oriented with the motherboard's I/O ports.
Step 5: Position the Motherboard:
- Carefully lower the motherboard into the PC case, aligning it with the I/O shield and the standoffs.
- Make sure the motherboard's rear I/O ports fit through the holes in the I/O shield.
- Gently press the motherboard against the tabs.
Step 6: Secure the motherboard:
- Use the included screws to secure the motherboard to the stands.
- Tighten the screws diagonally to ensure even pressure. Don't over-tighten.
- Refer to your motherboard's manual for recommended screw locations.
Step 7: Connect the power and data cables:
- Connect the motherboard's main 24-pin ATX power connector to the power supply.
- Connect the processor power connector(s) (usually 4-pin or 8-pin) from the power supply to the motherboard.
- Connect the SATA data cables from your storage devices (HDDs/SSDs) to the motherboard.
- Connect the front panel connectors (power button, reset button, LED indicators) according to your case and motherboard instructions.
- Connect case fans and any other peripherals (USB, audio) to the motherboard connectors.
Step 8: Double check connections:
- Check all cable connections carefully to ensure they are secure.
- Check that there are no loose components or cables that are interfering with the operation of fans or other components.
- Close the computer case and secure it with the case screws.
Step 9: Test your computer:
- Before closing the case completely, connect your monitor, keyboard, and mouse.
- Turn on your computer and check for any error messages or abnormal behavior during the boot process.
- If everything works correctly, proceed to install the operating system and drivers.
Conclusion: Installing the motherboard is a fundamental step in building your PC. Following this step-by-step guide and familiarizing yourself with your motherboard and case manuals will help you ensure a smooth and successful installation. With your motherboard securely installed, you're one step closer to completing your PC build.