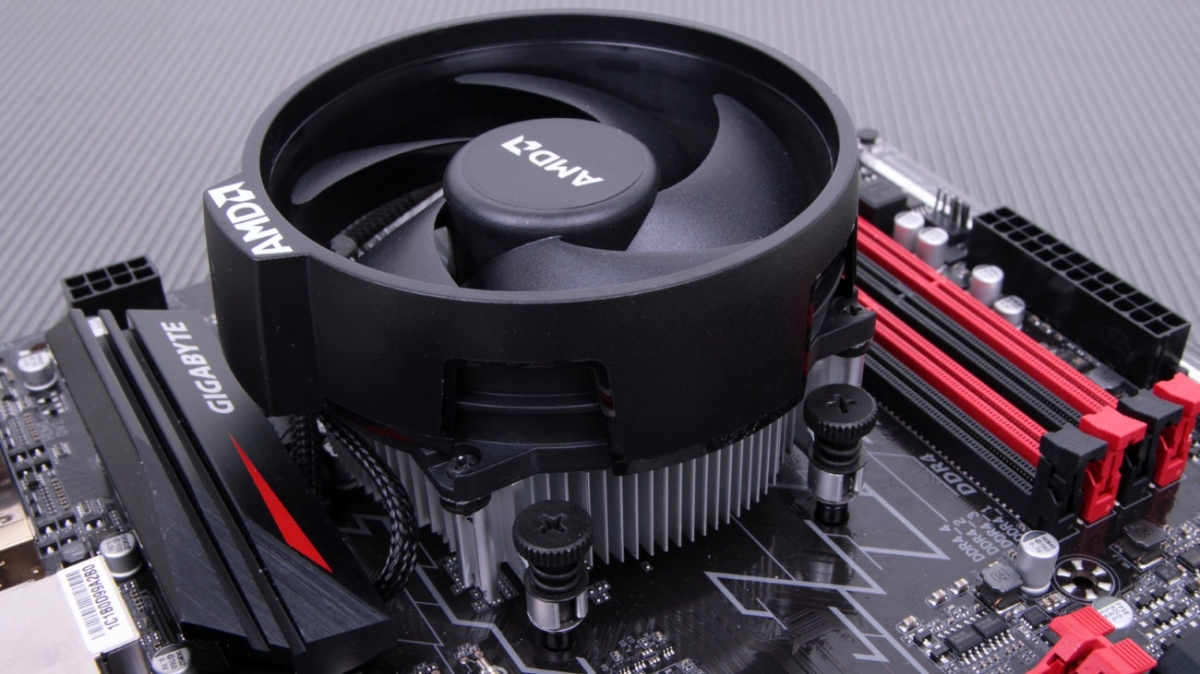
Installing AMD Compatible CPU Coolers: Step-by-Step Guide
Installing an AMD compatible CPU cooler is an important step in building or upgrading your computer. Proper installation ensures effective cooling and prevents the processor from overheating. Here's a step-by-step guide to installing an AMD compatible CPU cooler:
Note: Before you begin, gather the following tools and materials:
- Your AMD processor and motherboard.
- CPU cooler with necessary mounting hardware.
- Phillips screwdriver.
- Thermal paste (if not previously applied to the cooler).
Step 1: Prepare your workspace
- Work on a clean, well-lit, static-free surface. Make sure your computer is turned off and unplugged.
Step 2: Accessing the CPU Socket
{thirty}Step 3: Remove the old cooler (if applicable).
- If you are replacing an existing cooler, carefully remove it by disconnecting the fan(s) and unscrewing any mounting brackets or clips securing it to the motherboard.
Step 4: Clean the CPU and Cooler Base
- Use a lint-free cloth or coffee filter and isopropyl alcohol to remove any old thermal paste from the CPU heat spreader and the base of the new cooler. Make sure both surfaces are completely clean and dry.
Step 5: Apply thermal paste (if necessary)
- If your cooler does not come with pre-applied thermal paste, apply a pea-sized amount of thermal paste to the center of the CPU heat spreader. Don't use too much; a little goes a long way.
Step 6: Prepare the cooler
- Make sure the CPU cooler mounting brackets or clamps are configured according to your motherboard socket type (AM4, AM3, etc.).
Step 7: Connect the cooler to the processor
- Carefully lower the CPU cooler onto the processor, aligning the screws or brackets with the mounting holes around the CPU socket. Press down gently to distribute the thermal paste evenly.
Step 8: Secure the cooler
- Depending on the design of your cooler, use the included screws, clamps, or levers to secure it in place. Tighten them diagonally and evenly to ensure even pressure on the processor.
Step 9: Connect the CPU fan
- Connect the CPU cooler fan(s) to the motherboard CPU fan header. Make sure the fan cable is routed carefully so as not to obstruct other components.
Step 10: Cable Management
- Secure any excess fan cables with cable ties or clamps to keep the inside of your computer tidy.
Step 11: Close the Computer Case
- Carefully close the PC case, making sure that no cables or components are obstructing the side panel. Secure the case with screws or latches.
Step 12: Turn on the power and monitor the temperature
- Turn on your computer and monitor the CPU temperature using programs such as HWMonitor or Ryzen Master. Make sure the cooler is working properly and the temperature is within safe limits.
Always refer to the specific instructions included with your CPU cooler, as installation methods may vary depending on the brand and model. Properly installed AMD-compatible CPU coolers provide efficient cooling, preventing overheating and maintaining the longevity of your processor.


